
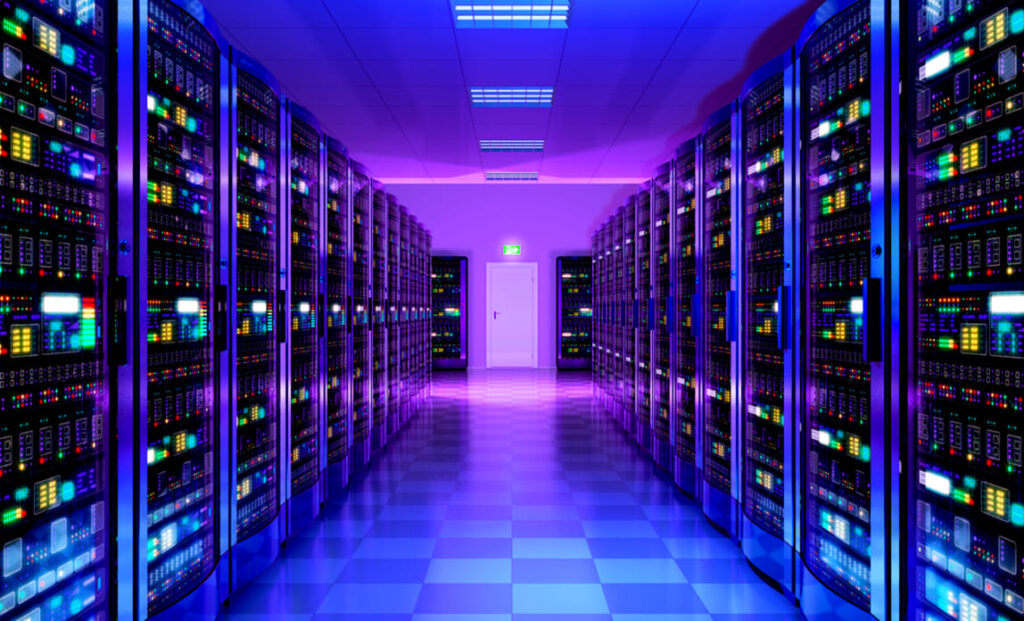
As a multimedia lover, you would certainly have come across the terms media server or media centers. These servers provide you with a lot of multimedia such as TV shows, movies, music or games, etc., and let you store all your data. Most importantly, the storage is ensured in a centralized way, and you will not face any haphazard situation.
Times of using local media servers have become old now. If we talk about Microsoft, the Windows home server has become obsolete, whereas the Windows media center is in phase-out stages. But still, a person can run a home media server and enjoy its flawless streaming on all devices.
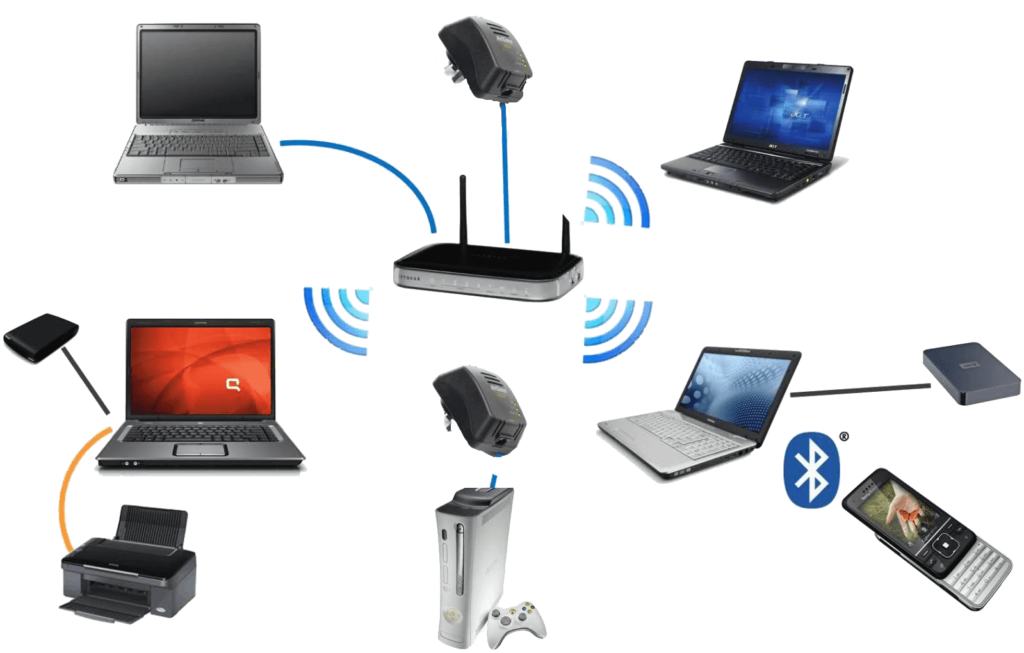
The system usually implemented for media servers uses NAS (Network Attached Storage) or a dedicated PC. Thus without any extra applications or cumbersome steps, one can easily have access to their content or impeccably stream it through a home network on a range of devices. The connectivity is easy and convenient whether it is TV, Smartphone, tablet or laptop.
Recommended to Read : Best Laptops to Buy in 2021
HOME MEDIA SERVER REQUIREMENTS
So if you are serious about setting up a Home server, then there are some of the basic requirements of hardware components. The nitty-gritty or the essential requirements of any Home based media server are explained below.
WiFi/ Ethernet
The most important and one of the basic requirements is having connectivity. Connectivity can be ensured using WiFi or an Ethernet cable connection. Though using cable is an old concept now, and honestly, you have to run hundreds of meters of cables that are not only tedious but also do not look good.
Moreover, the faster and lag-free your connection is, the better the picture you get. For flawless 4k streaming, it is recommended to use a quality router having good coverage and gain.
Media Server Storage

Another key element of home media server hardware is storage. How much storage you need depends on your requirements. How much media are you going to store on your home server?
Terabytes of storage are going to cost you more. But having more storage means having a bulk of data where you shall have got almost everything.
As an alternate, if you are tight on budget, you can buy a less storage drive or use some old PC hardware.
Media Server – PC or NAS?
As mentioned before, you can dedicate a PC to run as a server or Network Attached Storage (NAS). Make sure that your PC/ NAS is being hooked up via WiFi or an Ethernet cable.
Any device that can play a part of a server will be a good option. But in our view, currently, the best options are stated above.
Recommended to Read : Best Network Attached Storage (NAS)
Media Server Software

Last but to be honest, the backbone of any perfect home media server is its perfect software. However, there are various options such as Plex, Kodi or Media Server. Each has its pros and cons.
We have written a complete detailed article on comparing Plex and Media Server and then how to choose between the two. Please give it a read here.
Kodi is a bit more complex, whereas Plex is the easiest and user-friendly to set up. Plex is beginner-friendly, and anyone can easily set it up without prior experience. This app has got versions for almost all OS such as Windows, Linux, iOS and consoles such as Xbox and PlayStation.
Though the app is free, there is a premium version (Plex Pass) available that offers you a yearly subscription in a nominal range. But you have to check its compatibility with your hardware. Before installing any software in your hardware, always make sure whether it is compatible or not.
Setting up a Home Media Server
Now let’s discuss setting up a media server at home in detail.
Selection of the hardware
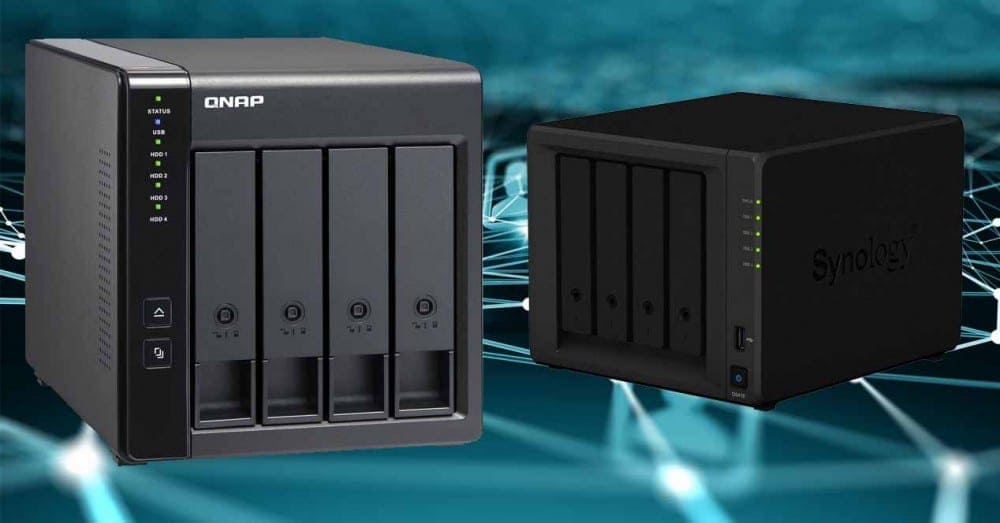
You have two main options to host your Plex Server or any desired server of your choice; a dedicated Network Attached Storage (NAS) device or a dedicated regular desktop computer.
Both of these have their pros and cons. If we talk about the benefits of NAS, it offers better flexibility in terms of having many slots for hard drives. NAS with many slots allows you to increase memory or swap out defective or slow hard drives. So in case, your storage is filling up, this is handy to store media easily and quickly.
Moreover, some of these offer faster video streaming and 4k video acceleration. The disadvantage is you have to buy and manage this as an extra device.
Coming towards a desktop PC, if you already have a PC with a good processor and storage plus a stable internet connection, installing Plex or Media Browser is just a click away.
Just download, configure, and you are good to go. The only downside is that you cannot do multi-tasking on your desktop PC and use it for Home Server. For example, if you are playing a heavy graphics game on the same PC and at the same time streaming a 4k video, you are going to see a lag there.
Recommended to Read : Best Portable Screens in 2020
Installation of the Media Server Application
After selecting hardware, pick the server app that you are going to use. You have different options such as Plex, Media Browser or Kodi.
Here the installation will be described as Plex-focused. So go ahead and download the Plex Media Server App.
After downloading the Plex media server app, create an account. After confirmation of your account, once you have logged in, you will see a list of platforms such as Windows, Mac OS, Linux and a host for NAS platforms. Here choose the one according to your requirements. Download this to your device and install it.
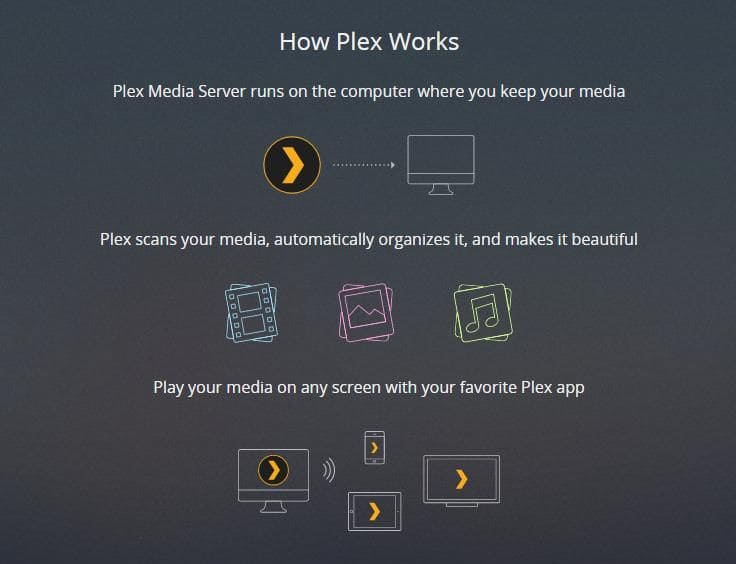
After installing the app, you will not find the app on your system, which you can directly open. Instead, you will see a web interface, Plex Web App, that has its own media player as well.
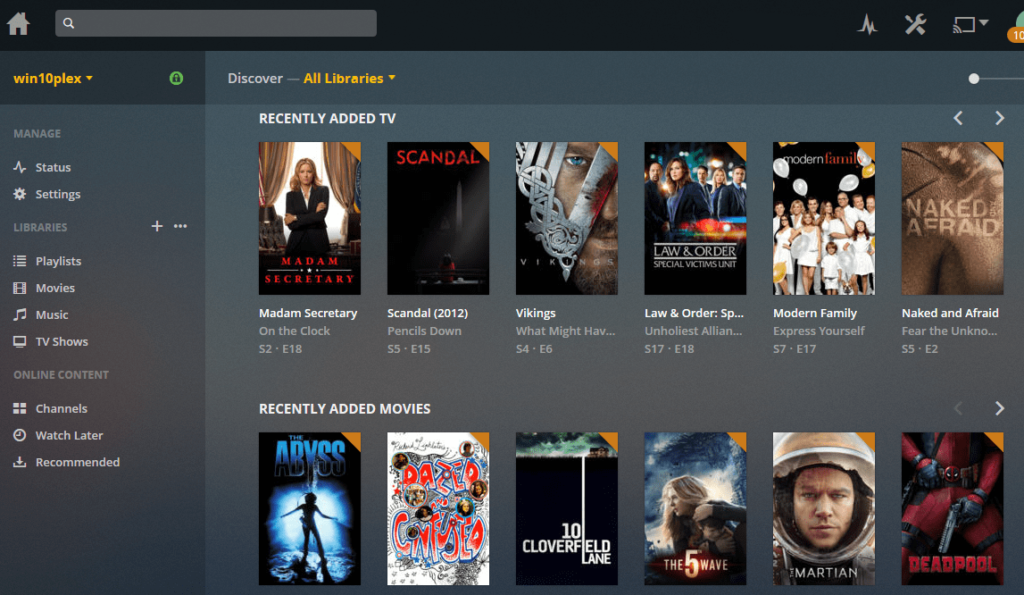
From here, you can do almost all configuration and settings, whether managing users, the server setting for watching movies or configuring it to show your favorite shoes from any other computer. So you open the Plex Web app, sign in to your created account and start making your libraries.
You can create as many libraries as you want. Some of the basic libraries having a collection of your media will be Movies, Documentaries, TV Shows and Music.
Likewise, if there is any movie or show that you don’t want to share with others, you can create a Private library and keep it separate from others. Thus you have got a complete freedom whether you want to share any of your libraries and keep it completely private and hidden from others.
Setting up Library on Plex
The setting up of libraries completely depends upon you. Creating a Plex library is just like creating folders and keeping all your data organized.
So you create your favorite library like Documentaries, for example – and you can add your folders to it. You can have data from any of the folders and drives in a single library.
After library creation, you will have your Tv Shows folders on different drives; you can add all these together in a single library.
So click the “Browse for Media Folder” button and keep searching until you find your required folder. A good thing is Plex will search for sub-folders as well and thus will compile all your collections together in one place.
You can have different genres of Movies inside the Movies folder, and by searching for Media, all this data will be brought together in one place for you.
After adding all your folders in a library, go to the “Advanced” tab. Here, you can adjust settings according to your requirements, like whether you want video thumbnails or to play a cinematic trailer before your movie.
Once you’ve added all your folders to a library, click the “Advanced” tab. Here, you can tweak a few settings on your Plex server, like turning off cinema trailers that play before your movie or whether your library should include video thumbnails.
For the first time, your server will take some time. This is because searching for all your folders, then creating thumbnails for them and pulling all their description and metadata from online servers will take some time at the first use.
Recommended to Read : Best Gaming Speakers
Install the Plex App on all devices
After managing your libraries, you can finally watch your media easily within your Plex App. But let’s suppose you don’t want to watch your media just on this server. Rather, you want to share it with your family on their Phone, TV, or any other device that supports Plex.
You will find the Plex app easily in the Official Application Stores of your devices. Moreover, if you have trouble finding your required app, visit the Plex Download Page, and you will get your app along with instructions.
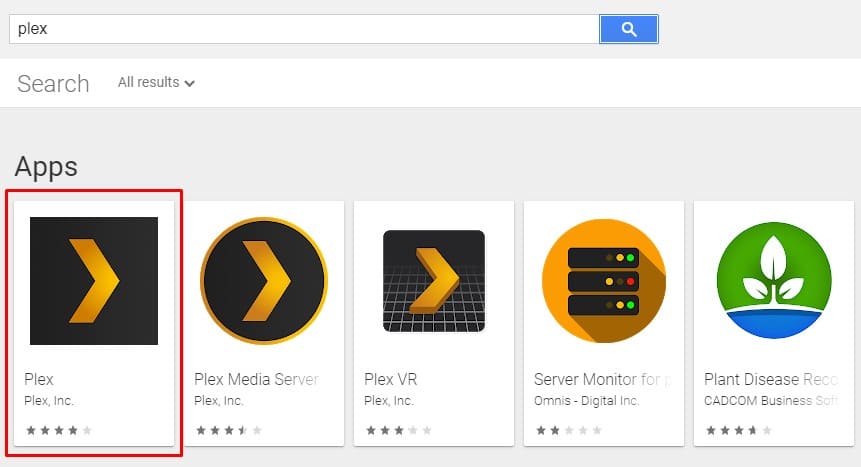
So install the Plex Client application on your devices, then log into your Plex account. Here you will find all your shows and videos in an organized manner in libraries you had set up initially in your Plex Server Setup.
Start Streaming
Finally, after you have done everything from setting up the server to installing the client app, the rest is just a straightforward and trouble-free one.
You have logged in to your account and found your favorite library consisting of your favorite Tv Show or Movie. Just select that and start streaming. There are no further settings or configurations that you have to do. Just select and start streaming simply.
Recommended to Read : Best Wireless Headphones to Buy

So this is a complete basic guide to setting up your own media server at home. If you love any other app besides plex, do let us know in the comments about your experience.